By continuing to use the website or clicking Accept you consent to our cookies and personal data policy and confirm that you are at least 18 year old. For details please see Privacy Policy and Terms
kohlrabi Nutrients
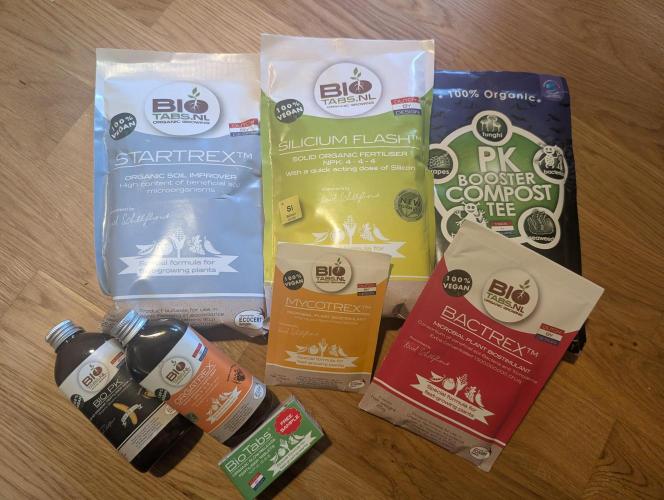
A new growing cycle has begun! I am really excited to be working with Biotabs again this time. The ‘Just Add Water’ strategy has proven itself to work great, and after mixing liquid fertiliser almost every day for the last four months, I appreciate even more how little work Biotabs require.
::
Discount code for the BIOTABS Webshop https://biotabs.nl/en/shop/ GDBT420
This gives you 15 Percent off all the products. I definitely recommend giving them a try!
::
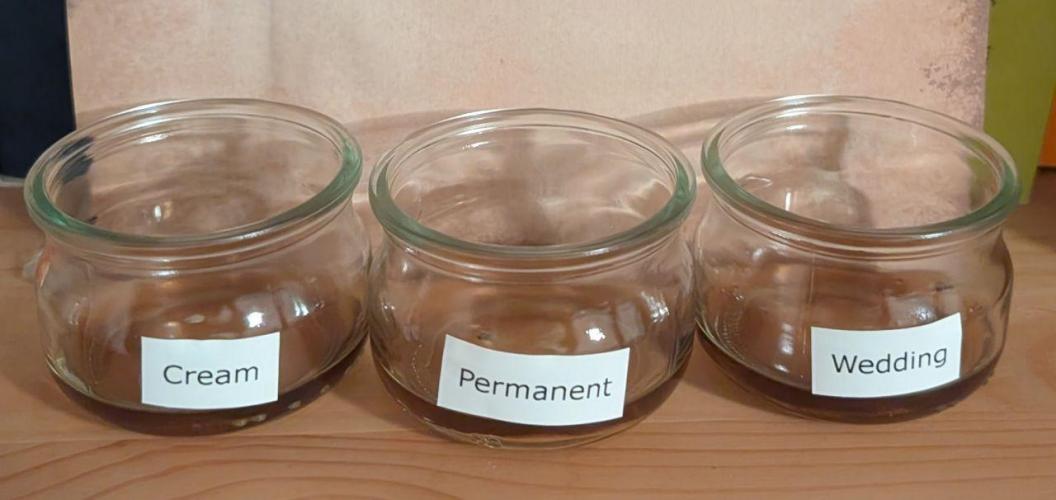
Choice of Seeds
Zamnezia Wedding Cake Auto
65 Indica
20 THC
9 weeks circle
Relaxed, celebral
Sweet, Fruity
4 likes
2 comments
Share
Used method
Peat Pellet
Germination Method
1
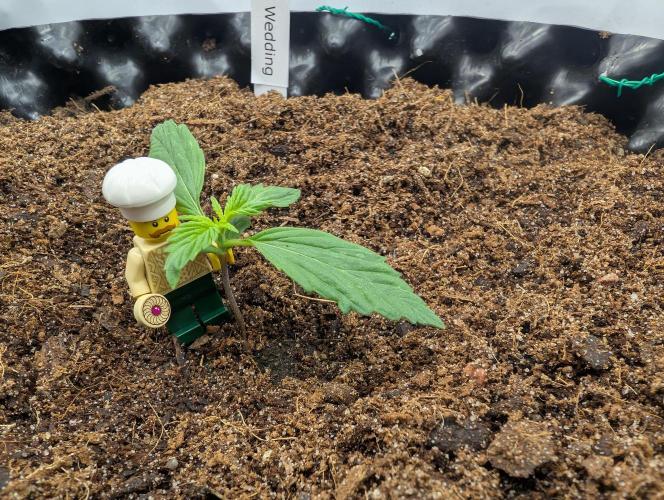
Week 1. Vegetation
8d ago
1/2
1 cm
Height
12 hrs
Light Schedule
22 °C
Day Air Temp
No Smell
Smell
20 L
Pot Size
0.2 L
Watering Volume
70 cm
Lamp Distance
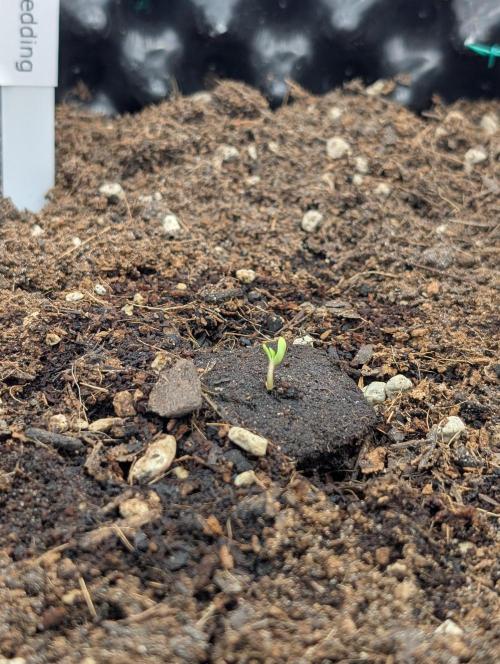
kohlrabi Sprouted on day 5! I timed it so that the first week could begin at the weekend, and luckily the plan worked out. I can only recommend giving it a try – with this method, I have found a so far 100% reliable germination method: Soak the seed for 12-24 hours in approx. 50 ml of distilled water with a few drops of humic acid, then place the still-closed seed in a Root Riot cube and stick it directly into the finished pot with soil. All you need to do then is water it a little every morning and in 4-6 days the plant will pop its head out of the soil.
Substrate
One thing I'm not doing quite according to Biotabs' plan is the substrate. I have so much recycled soil (using bokashi/earthworms) that I didn't want to buy new substrate. I supplemented this with coco and pumice. Since this way the soil already contains nutrients, I'm using one less Biotab than recommended. I'm keeping an eye on the colour of the leaves and adjust if necessary. My biggest concern is that the soil might be too nutrient-rich for the germination and cultivation phase. We'll see.
More on the irrigation setup coming next week!
9 likes
11 comments
Share
2
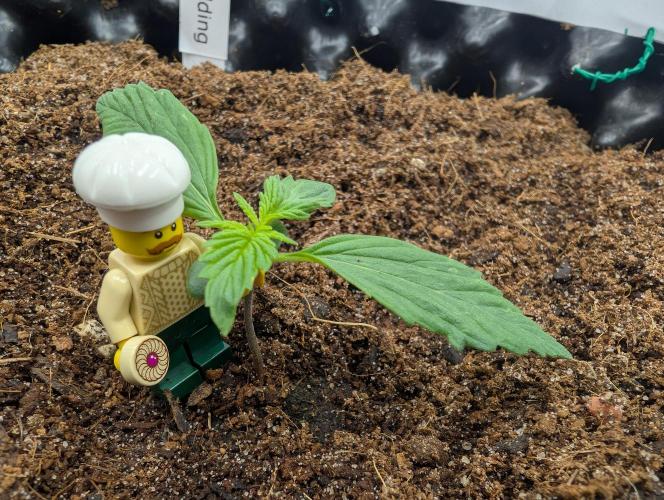
Week 2. Vegetation
1d ago
1/2
4 cm
Height
18 hrs
Light Schedule
22 °C
Day Air Temp
No Smell
Smell
20 L
Pot Size
0.2 L
Watering Volume
70 cm
Lamp Distance
kohlrabi The plant looks good – it's about the same height and size as Cream Mandarine. So far, most of the roots are probably still in the Root Riot Cube, so the high nutrient content of the soil shouldn't be a problem yet. I hope.
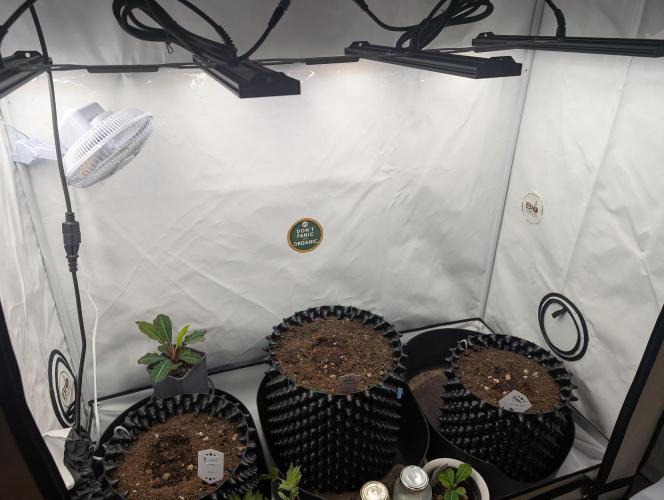
Irrigation
Some fellow grow enthusiasts have been using Autopots lately and are reporting impressive results. Although this has piqued my interest, I'm going to try a low-budget version with wick irrigation first. I got the inspiration for this from a YouTube video (in German: https://youtu.be/wL5yLMzd7JQ?si=z447nxctYgHYUGo2). I'm very excited to see if it works! Anyone who has read my journals knows that watering is the biggest problem for me.
However, I have resorted to things I already own: Airpots and cat litter boxes from Ikea, of all things. I have always been very happy with how the rooting looked with Airpots. To create a water reservoir at the bottom, I used large versions and placed the bottom disc above the last third. Now they have at least 10 cm of reservoir space. I think it should be possible for me not to let anything dry out this time.
Unlike in the video, I also have the advantage that only pure water is poured into the reservoir. All fertilisers and additives are already in the soil. I think I will completely empty and clean the large bowls every two weeks, but that should be enough.
At the moment, however, I am still watering from above. From about week three onwards, there should be enough roots to make watering from below possible.