By continuing to use the website or clicking Accept you consent to our cookies and personal data policy and confirm that you are at least 18 year old. For details please see Privacy Policy and Terms
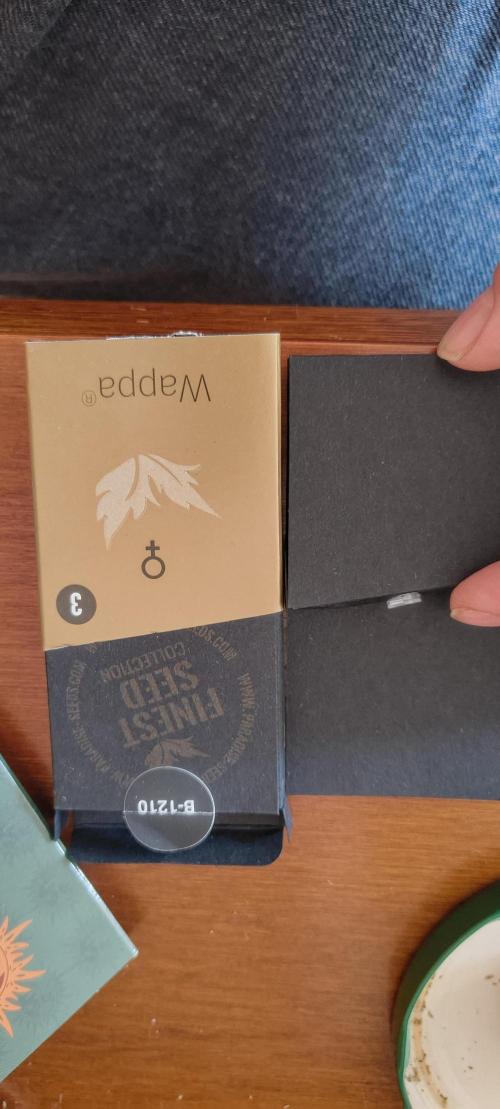
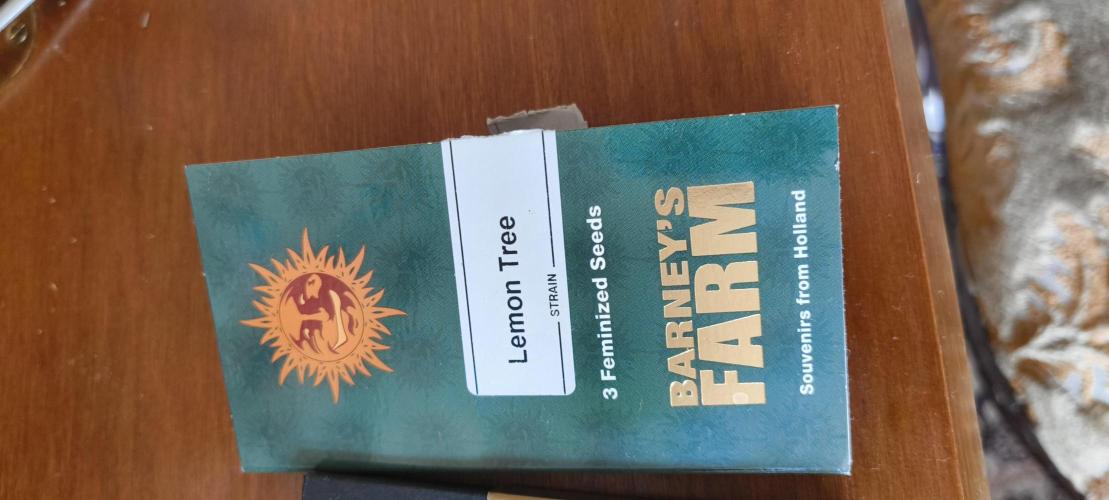
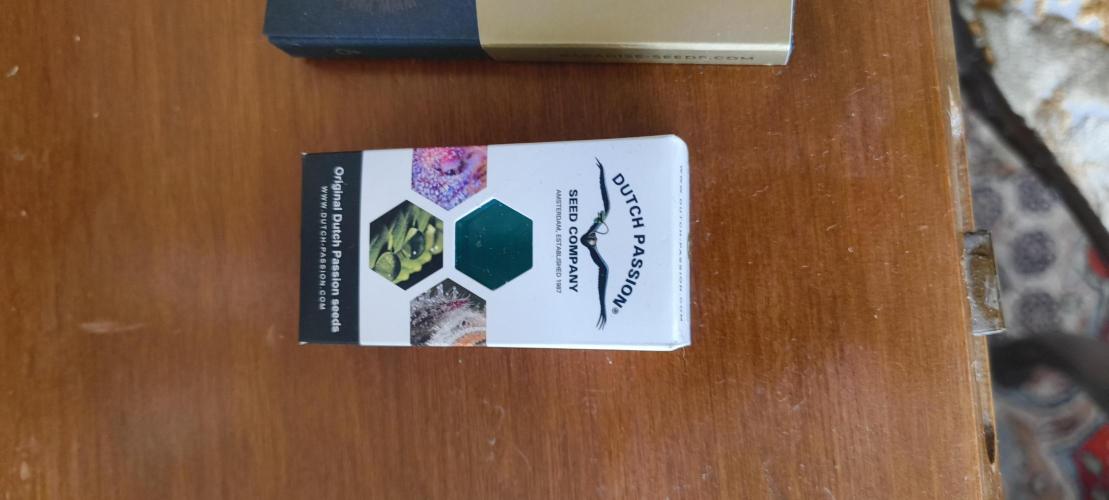
SleepyChow Hi folks 👋🏼 I’ve been around here as a reader for a while. My last grow was my first real living soil grow with a self-mixed soil. As a big recycling fan and junk enthusiast, I found some nice stuff in Hubey’s product range. I activated the soil mix with Veggie Gold, worm castings, and compost tea. For mulch I used biofiber by Sonnenerde. This time, the mulch consists of harvest leftovers from the last run and green manure/Little Helper Seeds from Almicana. That run went really well, without any noteworthy issues. And since it turned out so great, I thought to myself: “why not start a GD report 🤷🏼♂️”
---
Hi Leute👋🏼Bin schon ne Weile als Rezipient hier unterwegs.Mein letzter Grow war mein erster echter Living Soil Grow mit selbst angemischter Erde.Als alter Recycling Fan und Unrat-Enthusiast bot mir die Produktpalette von Hubey paar nice Sachen.Aktiviert habe ich den Erdmix mit Veggie Gold,Wurmkompost und Komposttee.Gemulcht wurde mit Biofaser.Diesmal besteht der Mulch aus Ernteresten vom letzten Run und Gründüngung/Little Helper Seeds von Almicana.Der besagte Run lief richtig gut,ohne jegliche nennenswerte Probleme.Und weil das so geil lief,dacht ich mir:'starteste doch n GD Report🤷🏼♂️'
2 likes
3 comments
Share
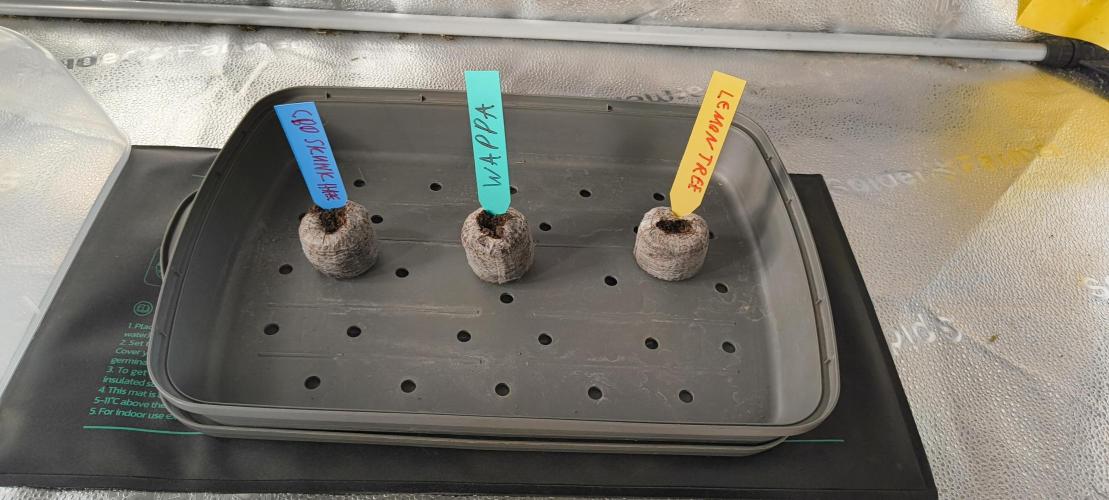
Used method
Peat Pellet
Germination Method
1
Week 1. Vegetation
14d ago
1/15
18 hrs
Light Schedule
27 °C
Day Air Temp
No Smell
Smell
40 %
Air Humidity
40 L
Pot Size
65 cm
Lamp Distance
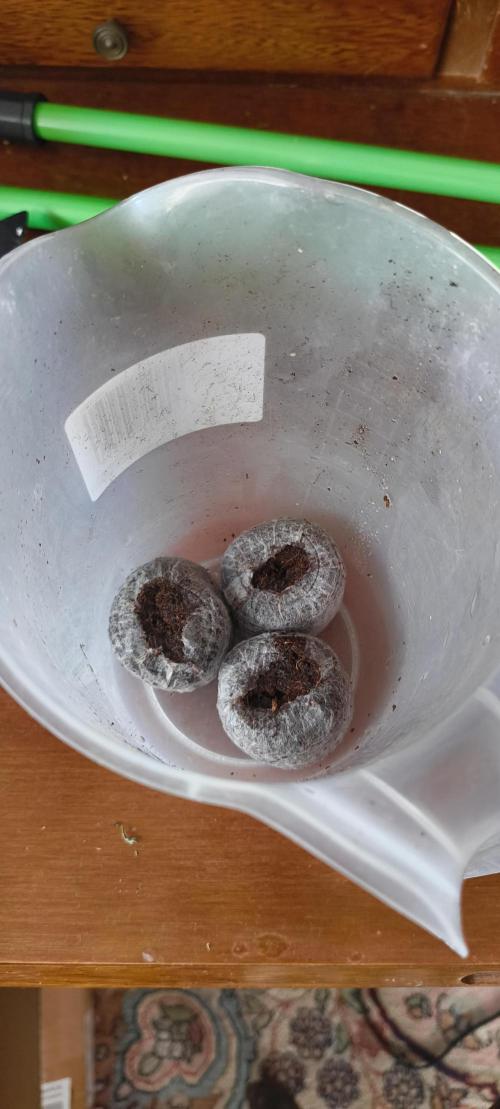
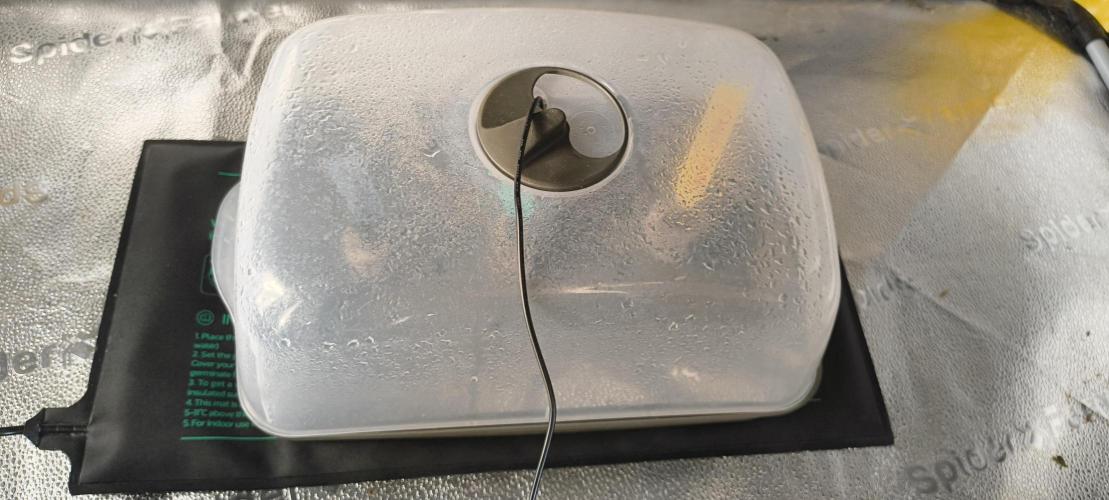
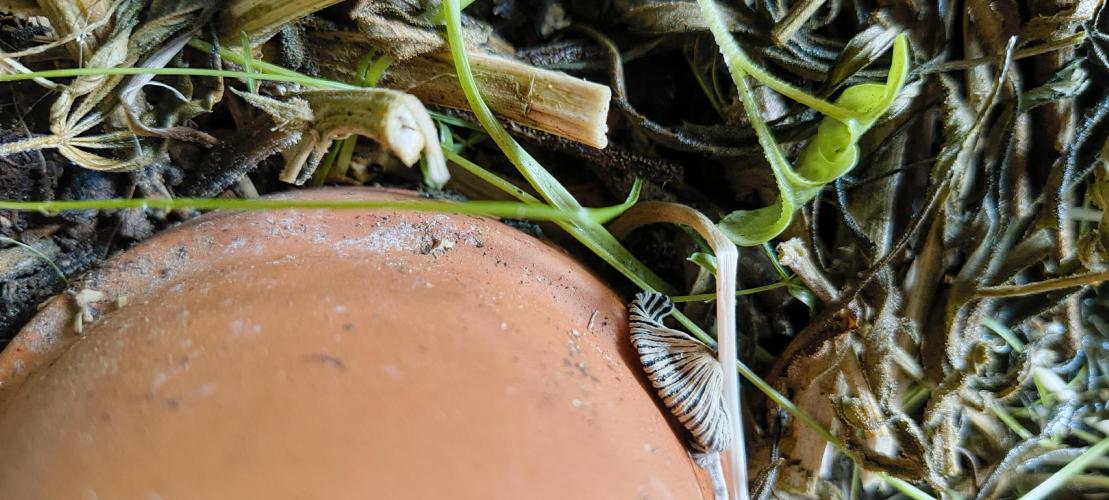
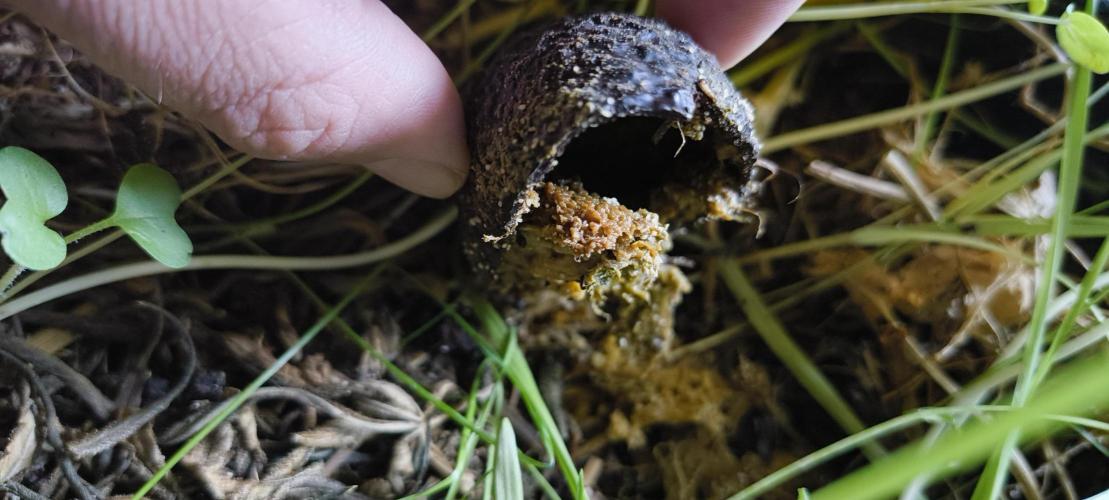
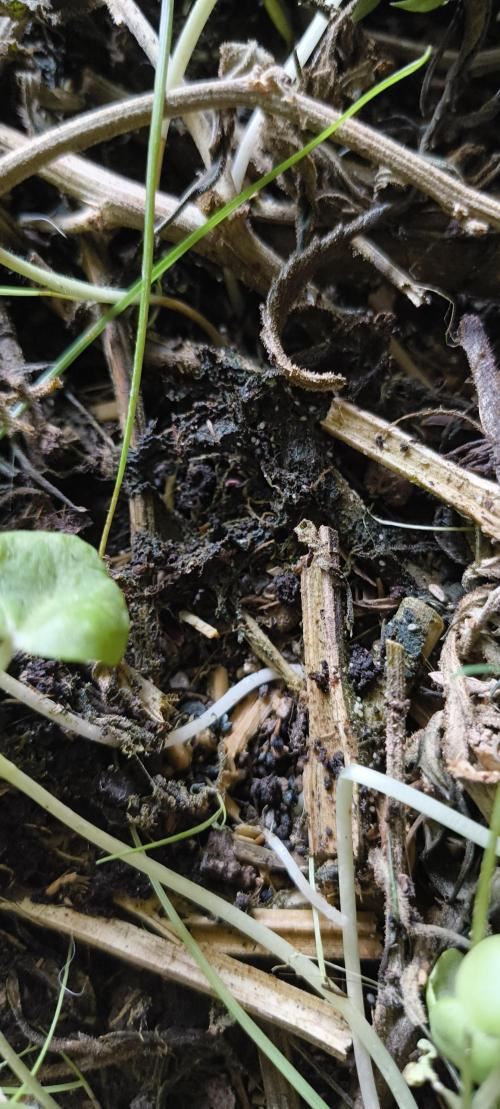
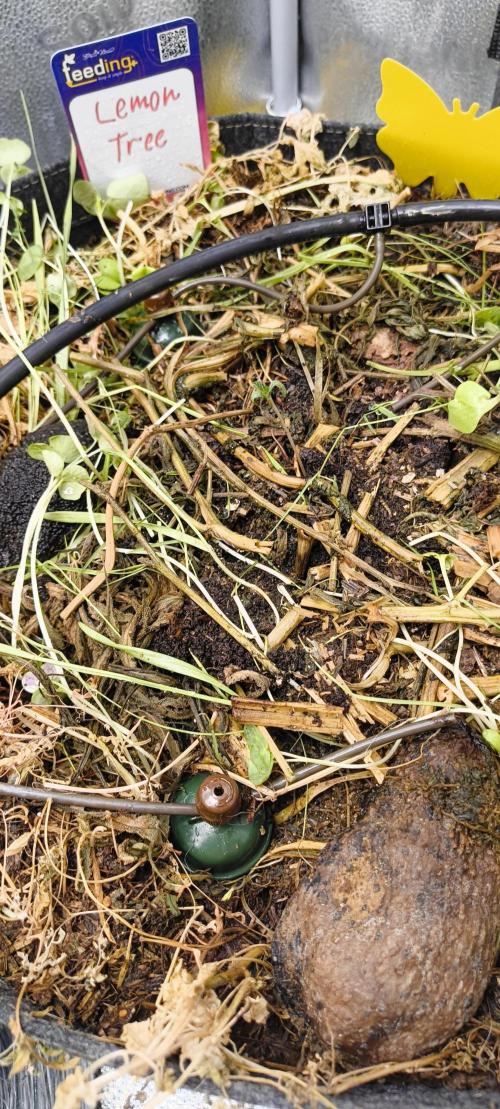
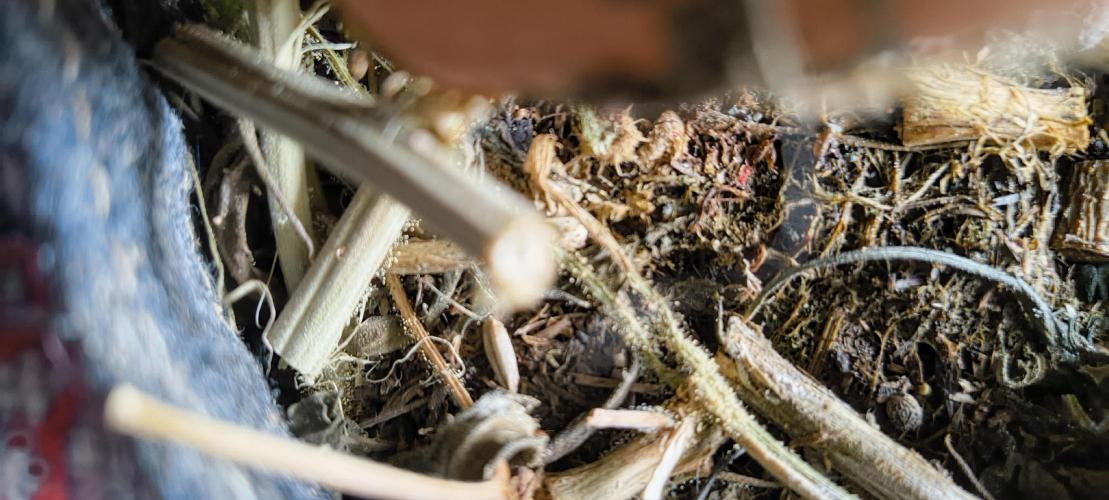
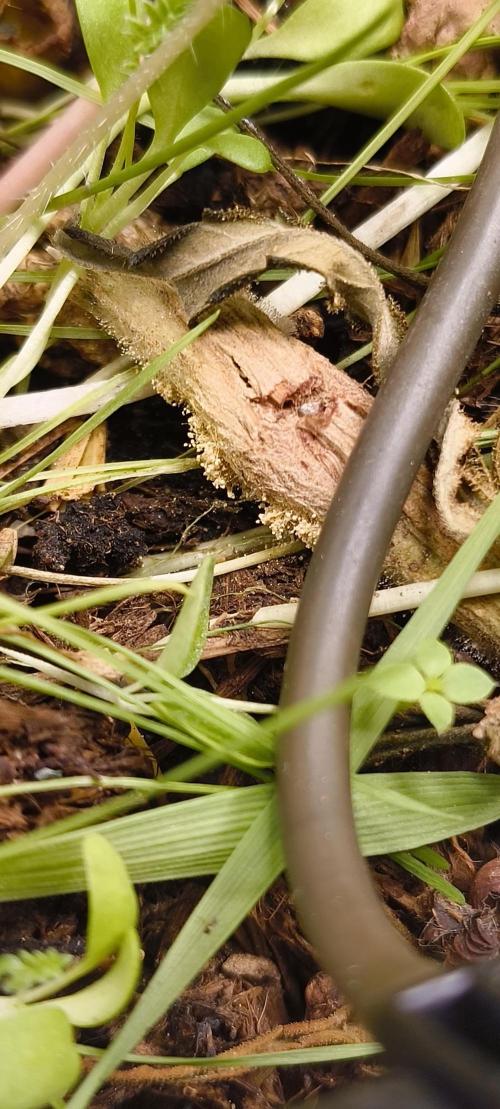
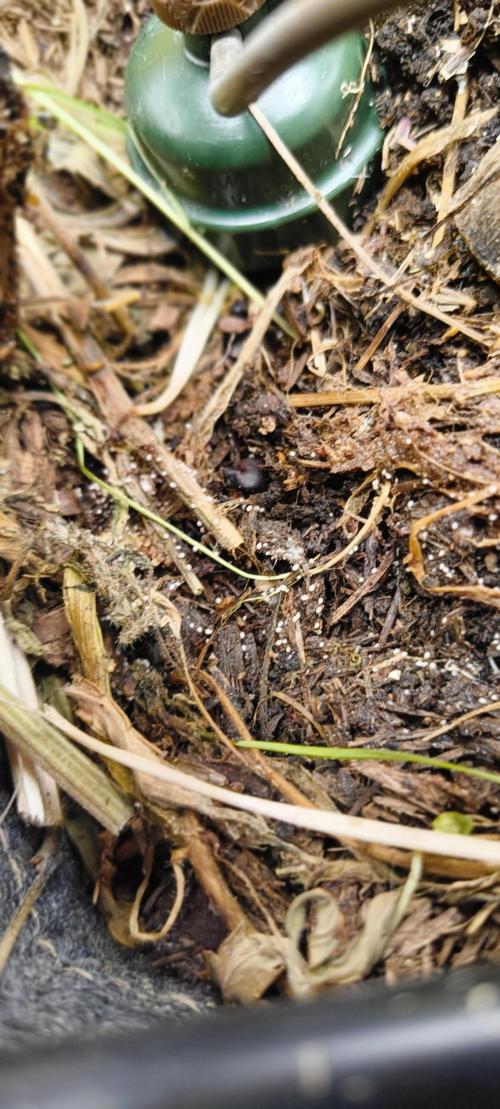
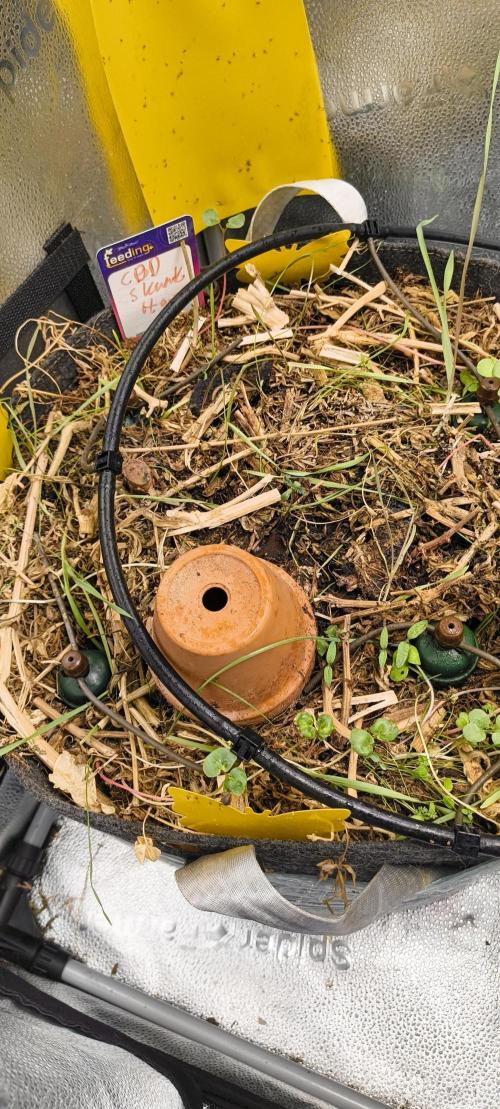
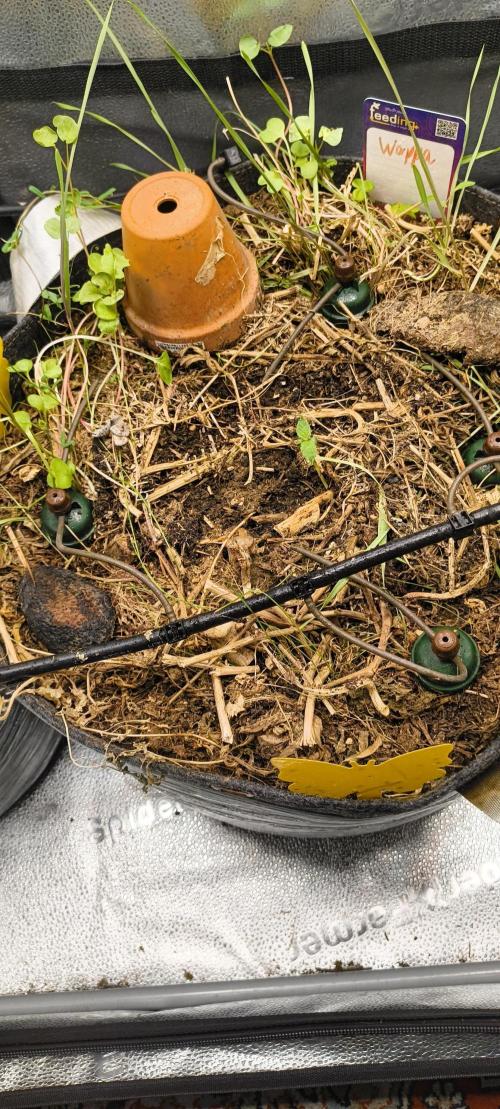
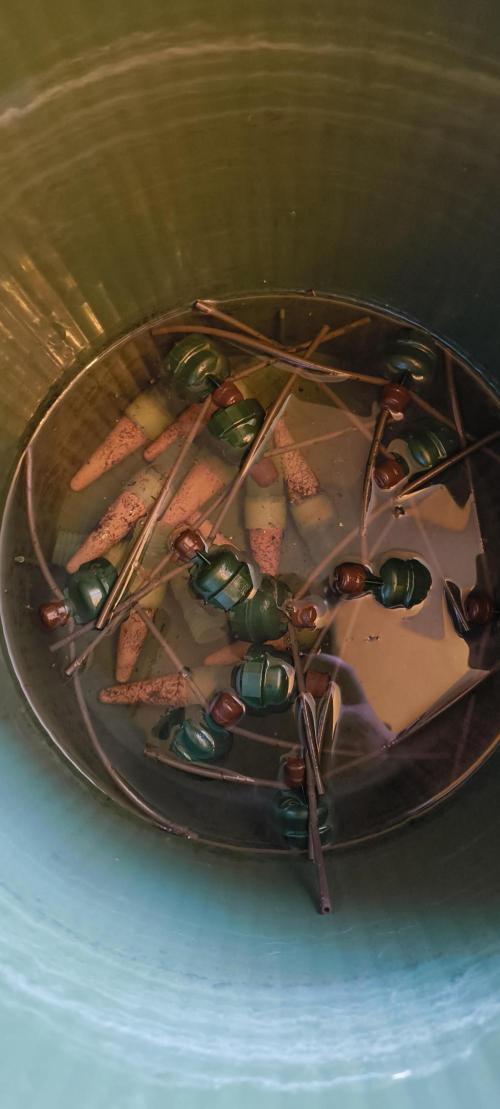
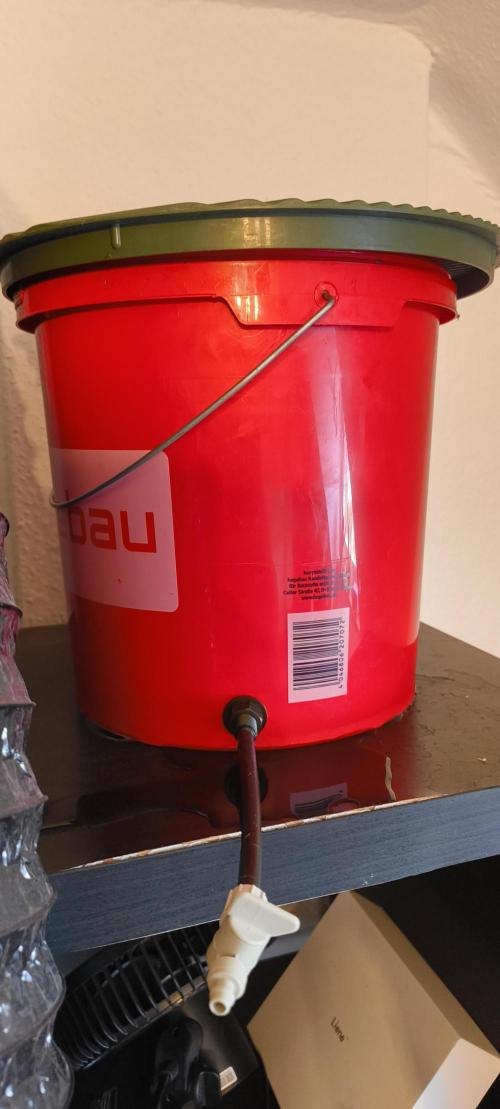
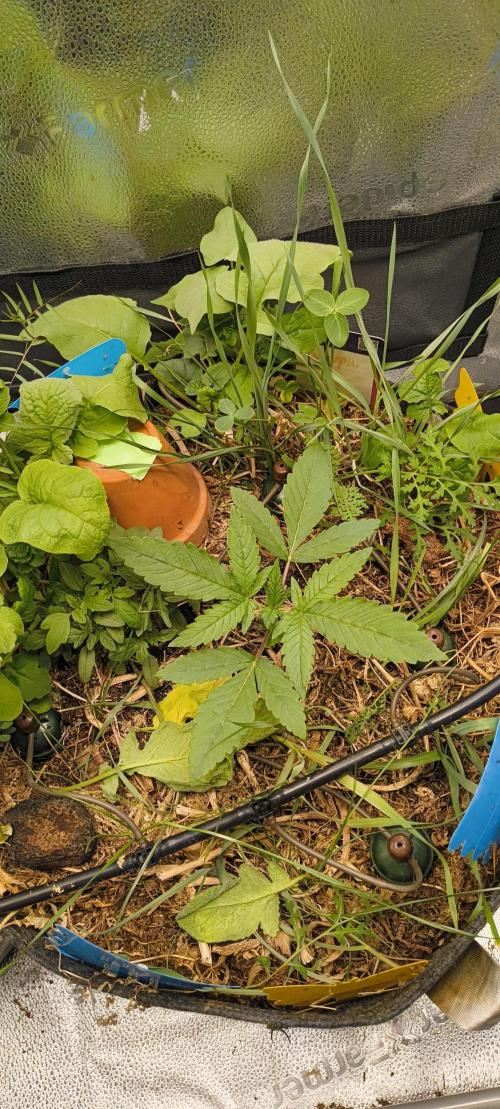
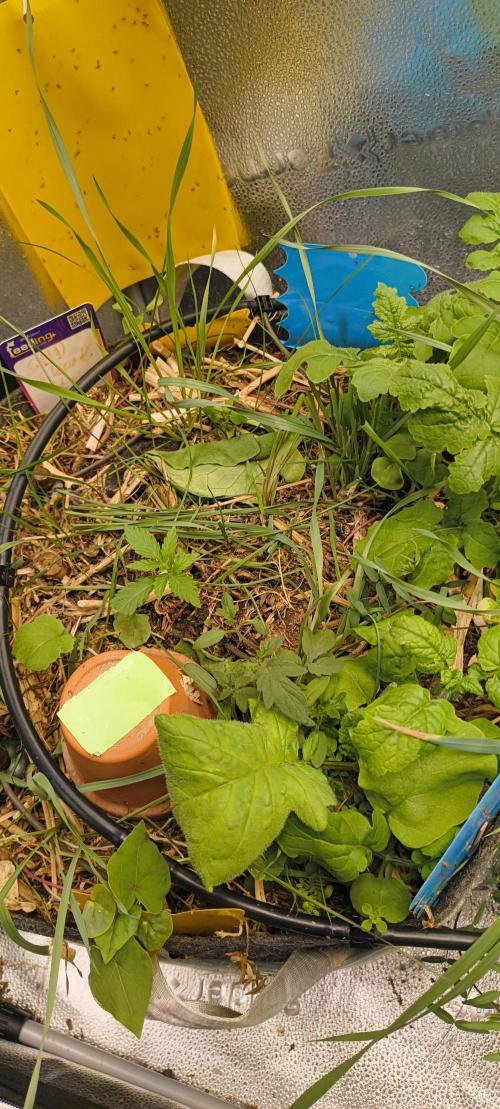
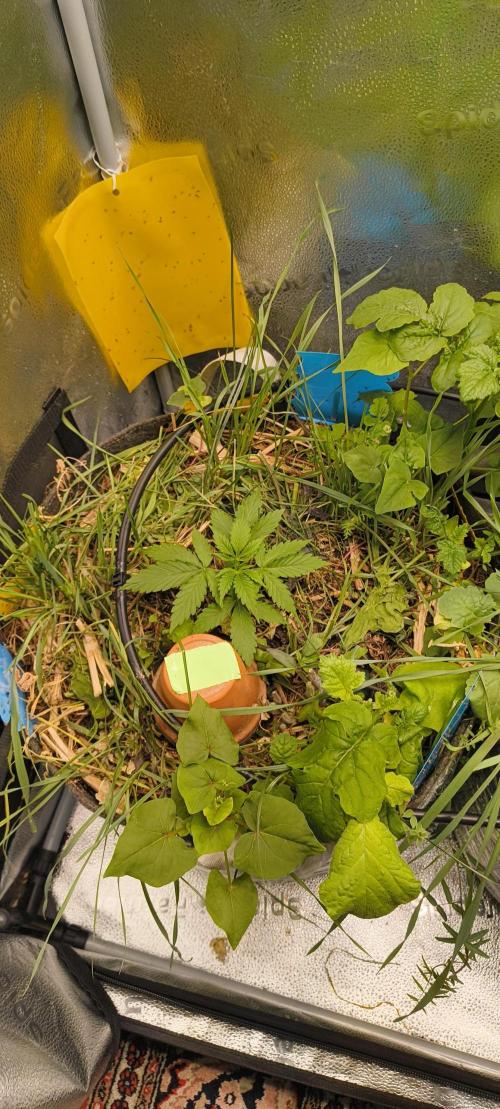
SleepyChow After three days, all three girls have sprouted. Lemon Tree was the first and quickly developed a strong taproot, followed by the CBD Skunk Haze, and about 12 hours later Wappa popped up. A day later I placed the fabric pots in the tent and hooked them up to the prepared Blumat system. A few days before, I had watered the soil again with a total of 10 liters of compost tea. When planting the jiffys, it became clear how nice, airy and soft the soil is – and how fat my compost worms have gotten 😂. The soil is also rich in nematodes, springtails, and various arthropods 🤩.
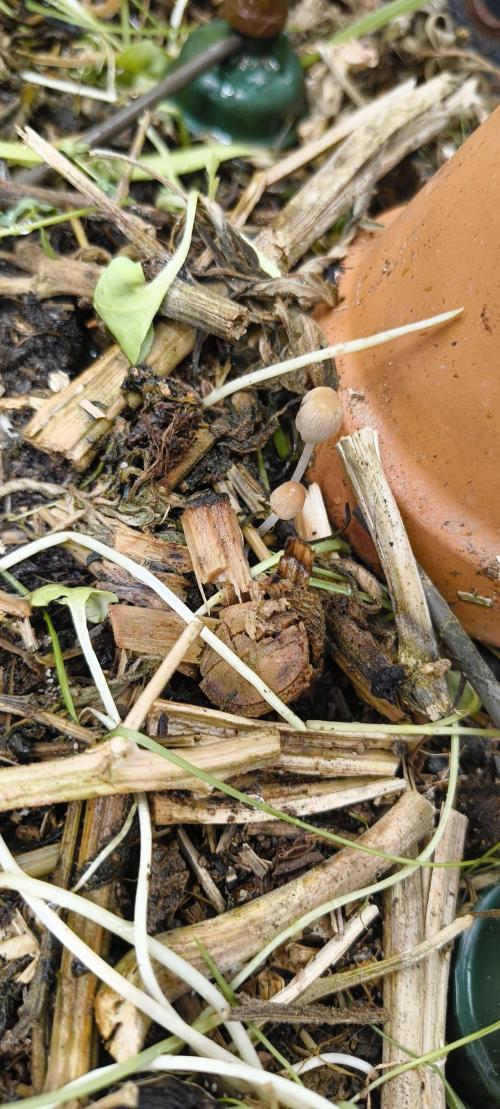
In the photos you can also see the fungal mycelium growing on the hemp mulch, as well as some little inkcap mushrooms that are popping up everywhere 🙌🏼. Unfortunately, moist, nutrient-rich soil also attracts pests. But thanks to the heavy use of predatory mites, nematodes, and yellow sticky traps, the fungus gnat population has been massively reduced. Now, however, fruit flies have increased, so since yesterday I’ve also added blue sticky traps (which turned out to work really well) and small pots with vinegar and apple juice granules – which have already proven to be amazing in the rest of the apartment.
Way too early on, I added a tiny splash of fish emulsion to the compost tea, worried that the last run might have depleted the soil a bit. But of course that wasn’t the case 😅. LT and Wappa are growing every day, while the CSH is still stagnating. All of them are showing signs of nitrogen excess – or maybe the fruit fly infestation is stressing them. I’ll keep observing for a few more days. I also need to reseed some cover crop/green manure. If the symptoms persist, I already have two ideas on how to fix it.
To raise humidity, I keep spraying the girls with water every few hours and pour a bit of water on the ground so it can evaporate in the unfortunately too high temps of the last days and weeks. But today I saw a tip from another grower: soaking clay pebbles in a tray of water inside the tent. Maybe I’ll try that 🤔.
Actually, I should have transplanted the girls into smaller pots first, or at least replaced the nutrient-rich soil with a lighter mix where I planted them. But I don’t want to measure pH at all costs – I wanted to see if it would work without it. It worked just fine last run, so I’m not losing hope yet. And since LT and Wappa are still developing… 🤷🏼♂️
Oh yeah, I only use water that has either stood for at least 24 hours or has been aerated for 4 hours beforehand.
1 like
comments
Share
Used techniques
Transplantation
Technique
2
Week 2. Vegetation
6d ago
1/3
18 hrs
Light Schedule
28 °C
Day Air Temp
No Smell
Smell
80 %
Air Humidity
19 °C
Night Air Temp
40 L
Pot Size
65 cm
Lamp Distance
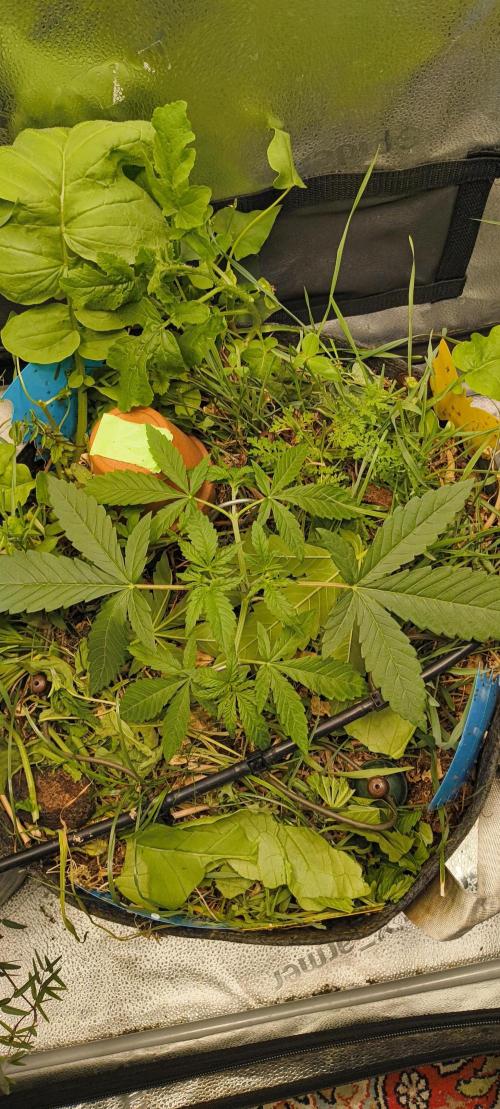
SleepyChow So, the suspicion of nitrogen over-saturation did not confirm itself as things went on. Maybe the leaves were just showing stress signs because of the quick “transplanting,” or maybe it was the fruit fly attack. But the Empire strikes back. The blue and yellow sticky traps, the vinegar + fruit concentrate traps, and a fly catcher above the lamp wiped out the population for now.
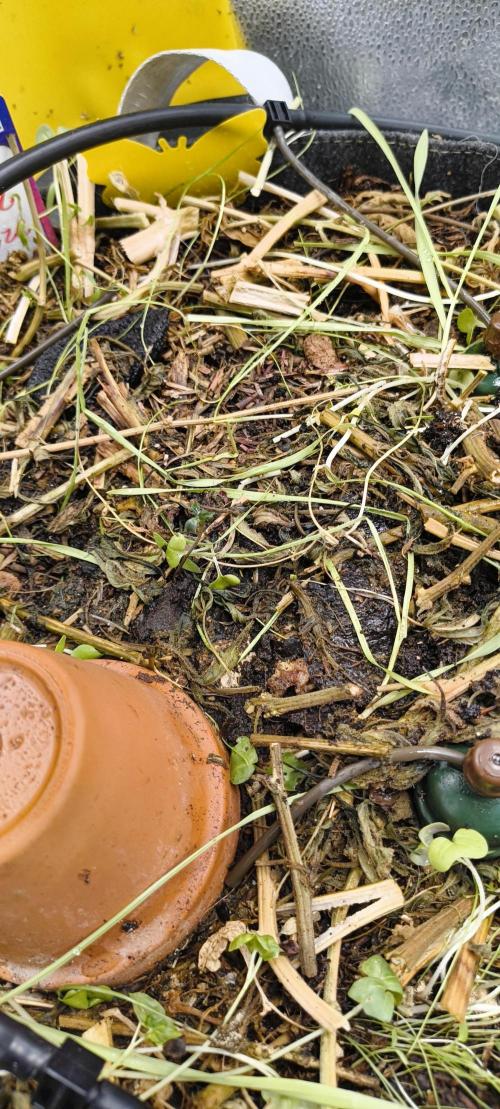
As for the girls: the Force is with them. At least with Lemon Tree and Wappa. The CBD Skunk Haze took the transplant the hardest and is about a week behind. Nevertheless, she’s also developing 🙌🏼. In foresight, I didn’t sow any more Little Helper Seeds. I figured the girls should establish themselves in the pots first. Anyway, the cover crop is only now really starting to sprout. Here and there I trim it back so the companion plants don’t crowd or overshadow the girls.
The fan has been running for a few days now, blowing gently around the girls. Since then, humidity has also gone up 💪🏼. I switched it off for a day as a test, and humidity instantly dropped. Maybe I’m just uneducated or dumb that this surprised me, but it was my revelation of the week 😂😂.
I’ve now gradually turned the lamp up to 75% power. And I cut off the damaged leaves with sterilized tools, before they could become easy victims for mold or other issues.
1 like
comments
Share
3
Week 3. Vegetation
9h ago
1/5
18 hrs
Light Schedule
24 °C
Day Air Temp
Weak
Smell
65 %
Air Humidity
18 °C
Night Air Temp
40 L
Pot Size
65 cm
Lamp Distance
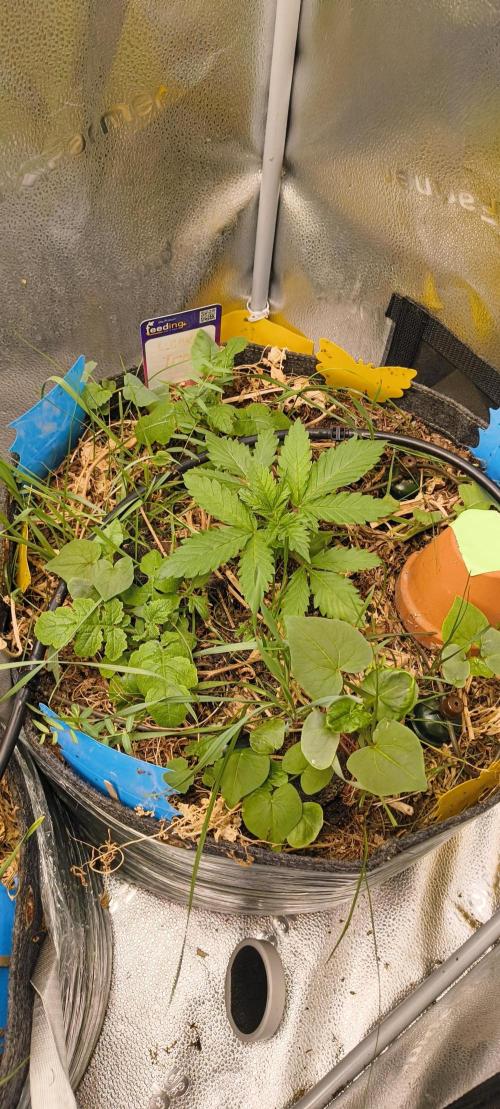
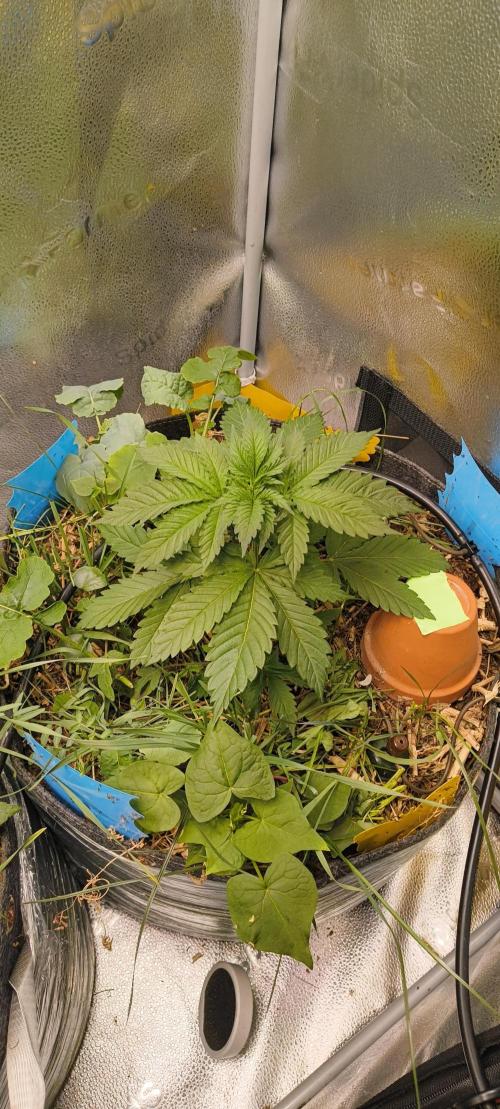
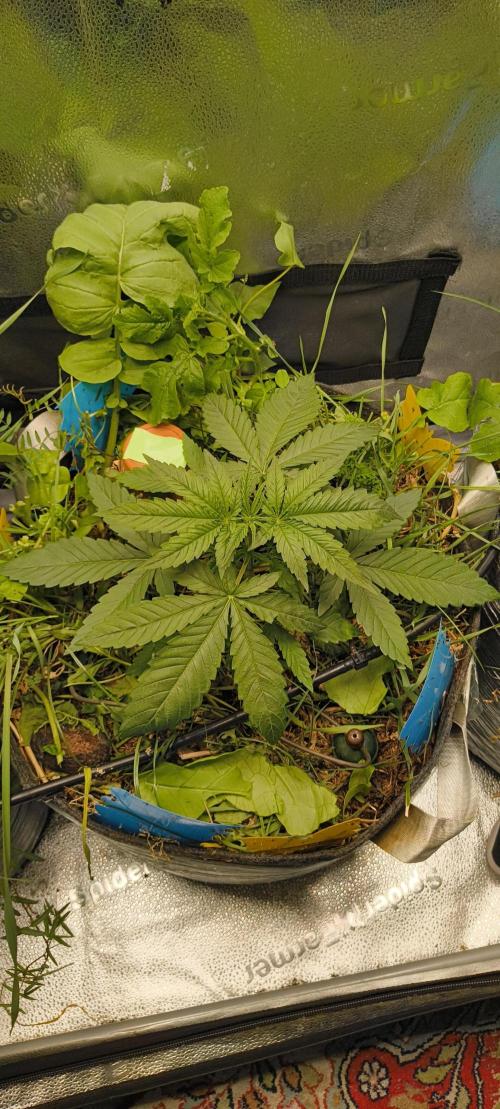
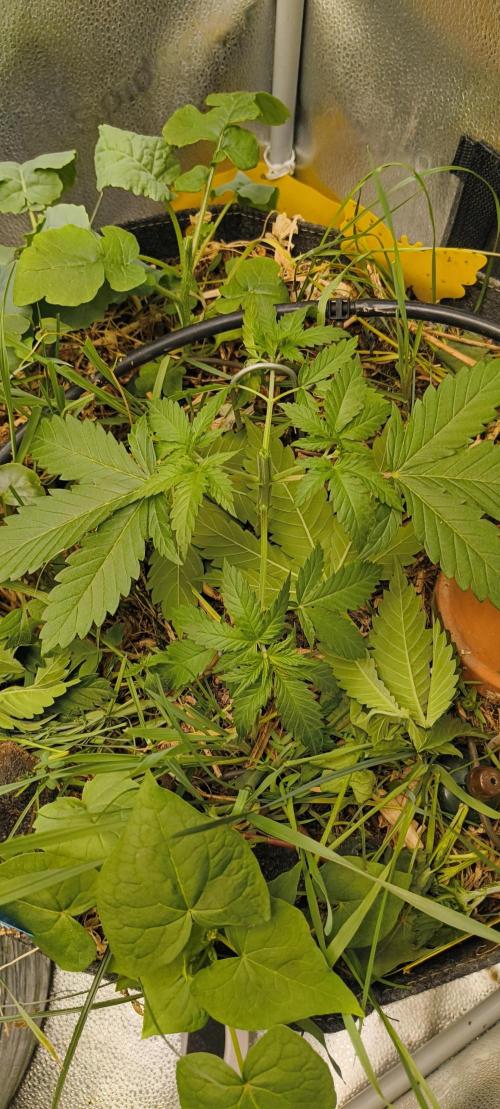
SleepyChow Hi guys 👋🏼 The girls are now three weeks old. As you can see, the CSH is still about a week behind. Wappa and Lemon Tree are developing beautifully and at roughly the same pace. Wappa is growing more in width, while LT is stretching upwards.
I’ve decided to mainline them to keep the height (especially of the LT) under control and to end up with more evenly growing plants. I’ve done this in a past grow already with good results. I don’t practice the classic mainlining method where you keep the third node and top above it so only that remains, but instead Jay’s version from Hyperactive Highs🔥🔥🔥 Super cool dude, hope you’re doing well mate.
He also works around the third node, but checks which internodal spacing is shorter. That’s the one he keeps, while topping and removing the rest. This way the plant stays easy to manage, while the yield increases. By topping, apical dominance is reduced, and the plant produces more auxins that promote root development and the growth of side branches.
Jay already defoliates at that point, but I’m leaving the big fan leaves for now. As we all learned back in school 😁 leaves are the power plant of the plant. They might help the plant deal with the stress of topping better 🤷🏼♂️ plus, they don’t really get in the way.
I already removed the first node from both yesterday to kind of spread the stress and see how they’d react. It’s normal that they first droop a bit – don’t worry 😬 I’ll mainline the CSH only next week, depending on how she develops. In the coming days, the girls will also get a compost tea to give them a little boost 💪🏼
https://youtube.com/watch?v=3vWL756OrMw&si=Jc3OzIfdxbHobAPn
Go check out the shortest vid to jays Mainlining Method